Bake the Perfect Pear Custard: Silky Filling & Crisp Crust Secrets
Imagine a dessert that offers a symphony of textures and flavors in every bite: the tender embrace of perfectly ripe pears, suspended in a smooth, vanilla-scented custard, all cradled within a golden, buttery crust that shatters delicately. This is the magic of a well-crafted pear custard, a timeless treat that effortlessly blends rustic comfort with sophisticated elegance. Whether you call it a pie or a tart, this dessert promises a sensory experience that feels like a warm hug on a chilly evening, yet is light enough to brighten any occasion.
Far from being a complicated affair, a truly exceptional pear custard relies on a few fundamental secrets. It's about understanding the interplay between its core components: the fruit, the creamy filling, and the foundational crust. When each element is perfected, the result is a harmonious balance of sweetness, spice, and texture that makes it impossible to stop at just one slice. Join us as we unlock the secrets to achieving that coveted silky filling and perfectly crisp crust, transforming a simple dessert into an unforgettable masterpiece.
The Foundation: Crafting the Perfect Crisp Crust
The crust is more than just a container for your delicious pear custard; it's a vital part of the textural experience. A perfectly crisp, buttery shell provides a delightful counterpoint to the soft fruit and creamy filling, elevating the entire dessert. While a store-bought crust can be a time-saver, there's an undeniable satisfaction and superior flavor that comes from a homemade sweet shortcrust pastry.
- Choosing Your Pastry: A sweet shortcrust pastry is often preferred for its rich, buttery flavor and crumbly texture. Its slight sweetness complements the pears and custard beautifully. For those seeking a healthier twist without compromising on flavor, explore options like a whole wheat shortcrust or almond flour variations, which can be just as delightful. If you're looking for more guidance on creating lighter versions, you might find valuable insights in our article, Indulge Guilt-Free: Healthy & Irresistible Pear Custard Pie.
- The Art of Blind Baking: This step is non-negotiable for a crisp crust. Blind baking prevents the custard from soaking into the pastry, turning it soggy. To blind bake effectively:
- Roll out your dough and fit it into your pie or tart pan. Trim the edges and crimp as desired.
- Chill the dough in the pan for at least 30 minutes. This helps prevent shrinkage during baking.
- Line the chilled crust with parchment paper, then fill it with pie weights, dried beans, or rice, ensuring they reach the edges to support the sides.
- Bake in a preheated oven (usually around 375-400°F or 190-200°C) for 15-20 minutes, or until the edges are lightly golden.
- Remove the weights and parchment, then return the crust to the oven for another 5-10 minutes, until the bottom is dry and lightly golden. This second bake is crucial for preventing a soggy bottom once the filling is added.
- Keeping it Cold: Throughout the crust-making process, remember that cold ingredients and cold dough are your best friends. This prevents gluten development, leading to a tender, flaky crust rather than a tough one.
The Heart of the Dessert: Mastering the Silky Pear Custard Filling
The filling of a pear custard is where the magic truly happens, a creamy embrace that transforms simple ingredients into something extraordinary. Its success hinges on selecting the right pears and crafting a perfectly smooth, just-set custard.
Selecting and Preparing Pears
The star of the show, pears, should be ripe but still firm. Overly soft pears will turn mushy, while underripe ones will lack sweetness and flavor. Varieties like Bartlett, Bosc, Anjou, or Comice are excellent choices, offering a juicy sweetness that melds beautifully with the custard.
- Ripeness is Key: Choose pears that yield slightly to gentle pressure at the neck.
- Preparation: Peel, core, and slice your pears uniformly. Thin slices (about ¼-inch thick) ensure even cooking and allow them to soften beautifully within the custard. A splash of lemon juice tossed with the slices can prevent browning, though it's less critical when they're immediately encased in custard.
Crafting the Custard
The custard itself is surprisingly simple, yet its execution dictates the final texture. You're aiming for a velvety, smooth consistency that cradles the pears without being overly dense or runny.
- Basic Ingredients: Eggs (often whole eggs and yolks for richness), heavy cream or a mix of milk and cream, granulated sugar, and pure vanilla extract form the core.
- Flavor Enhancers: Cinnamon is a classic companion to pears, imparting a cozy warmth that evokes autumnal comfort. A pinch of freshly grated nutmeg, a whisper of ground ginger, or even a hint of almond extract can add depth and a unique twist. These subtle additions elevate the custard without overpowering the delicate pear flavor.
- Mixing Technique: Whisk the eggs and sugar together until well combined and slightly pale, but avoid over-aerating, which can lead to a bubbly custard. Gradually whisk in the cream/milk, vanilla, and any spices. Strain the mixture through a fine-mesh sieve to catch any chalazae (the white stringy bits in eggs) or bits of unmixed egg, ensuring an impeccably smooth custard.
- The Secret to Silky: The key to a silky custard lies in gentle baking and not overcooking. It should be just set, with a slight wobble in the center when gently shaken, much like a perfect cheesecake. Overbaked custard will become rubbery or even curdle.
Bringing It All Together: Assembly, Baking, and Serving Tips
With your crisp crust blind-baked and your silky custard ready, it's time to assemble your masterpiece. The final steps are crucial for ensuring a stunning presentation and perfect texture.
Assembly
Arrange the pear slices artfully in your cooled, blind-baked crust. You can fan them out in concentric circles or create a rustic, overlapping pattern. The goal is to distribute them evenly so each slice of pie gets a good amount of fruit. Once the pears are arranged, carefully pour the prepared custard mixture over them, making sure it settles into all the nooks and crannies. Leave a small amount of space from the top edge of the crust, as the custard will puff slightly during baking.
Baking
Bake your pear custard in a preheated oven (typically 350-375°F or 175-190°C). The baking time will vary depending on your oven and the size/depth of your pie dish, but generally ranges from 45-60 minutes. Keep an eye on it:
- The custard should be mostly set, with a slight jiggle in the very center.
- The crust should be golden brown, and the pears should be tender.
- If the crust edges start to brown too quickly, loosely tent them with aluminum foil.
Cooling is Crucial
Once baked, resist the urge to slice immediately! Cooling is perhaps the most critical step for the custard to properly set and achieve its silky texture. Allow the pear custard to cool completely on a wire rack for at least 2-3 hours, or even longer. For the cleanest slices and a firm set, many bakers prefer to chill it in the refrigerator for a few hours or even overnight. This patience will be rewarded with perfectly sliceable, undeniably delicious results that are even better the next day.
Serving Suggestions
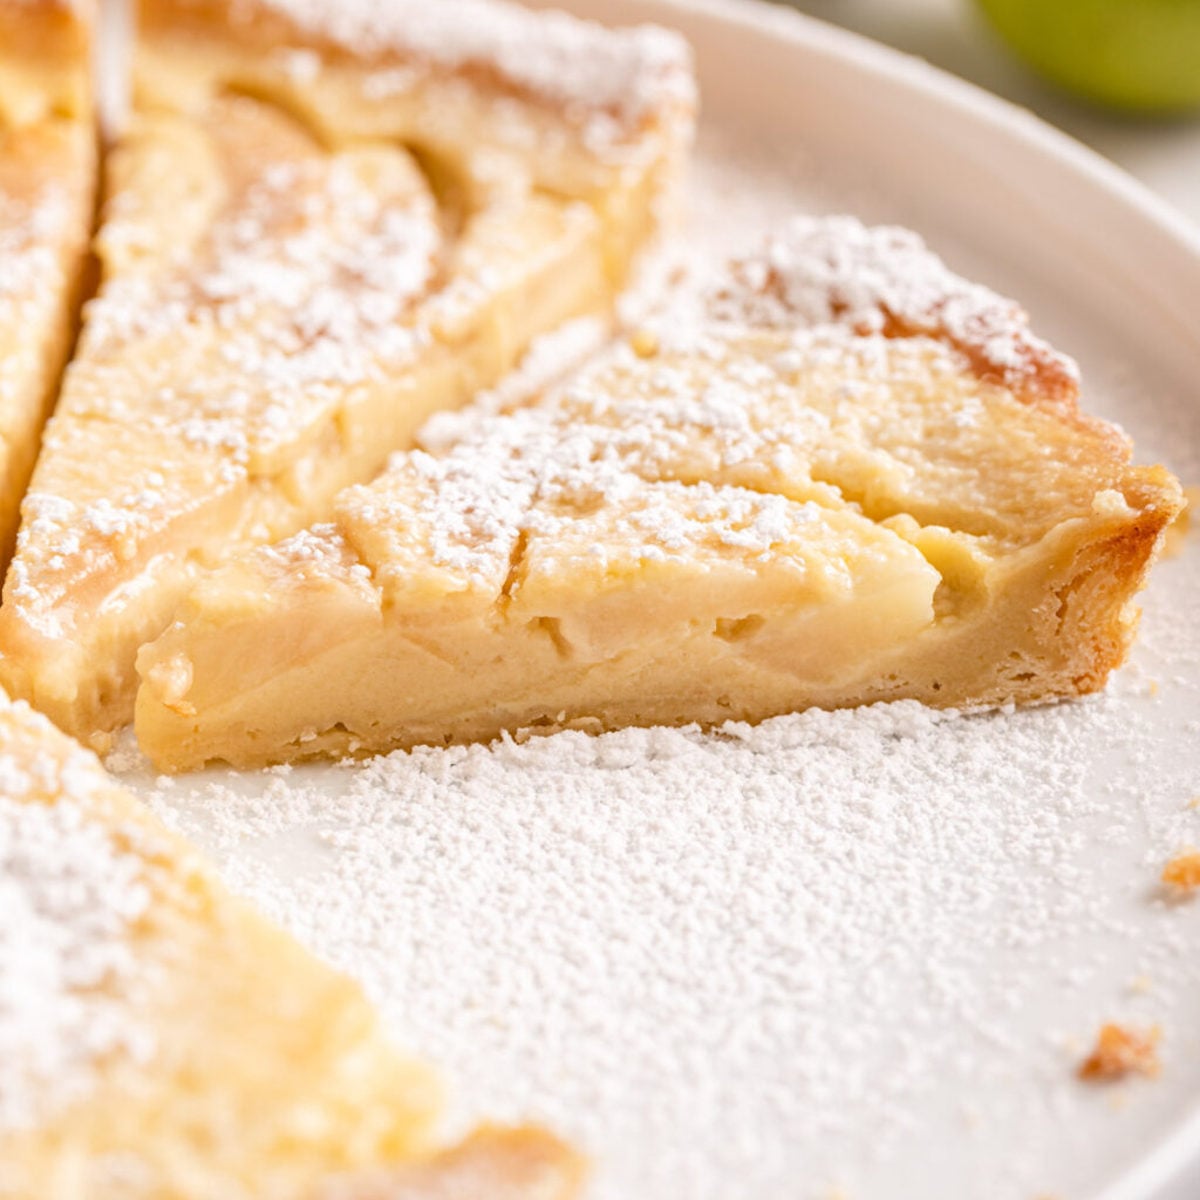
Pear custard is versatile enough to be enjoyed warm, at room temperature, or chilled. A dollop of freshly whipped vanilla cream, a dusting of powdered sugar, or a scoop of premium vanilla bean ice cream makes for an exquisite accompaniment. For an extra touch of indulgence, consider a drizzle of caramel sauce. This elegant dessert is perfect for winding down after a busy week or effortlessly impressing guests at a dinner party. For more inspiration on serving this comforting dessert, take a look at our article: Cozy Pear Custard: The Comforting Dessert for Any Season.
Beyond the Basics: Variations and Enjoyment
While the classic pear custard is a showstopper in itself, don't hesitate to experiment with variations to suit your palate or the season.
- Spice it Up: Beyond cinnamon and nutmeg, consider adding a touch of ground cardamom for an exotic note, or a whisper of fresh ginger for a bit of zing. A hint of orange zest in the custard can also brighten the flavors beautifully.
- Nutty Notes: For an added layer of flavor and texture, sprinkle a handful of finely chopped pecans, walnuts, or slivered almonds over the pears before pouring the custard. They toast beautifully in the oven, adding a delightful crunch.
- Individual Servings: Instead of one large pie, bake smaller individual pear custard tarts in muffin tins or mini tart pans. They're adorable, perfectly portioned, and ideal for entertaining.
- Seasonal Pairings: While often associated with fall, pear custard is a comforting dessert that can be enjoyed year-round. Pair it with a cup of tea for an afternoon treat, or a dessert wine for an elegant end to a meal.
The beauty of a perfectly baked pear custard lies in its ability to be both simple and stunning. It’s a dessert that invites you to slow down, savor each delicate flavor, and appreciate the comforting artistry of homemade baking. By mastering the crispness of the crust and the silkiness of the custard, you're not just baking a pie; you're crafting an experience that will be remembered and requested for years to come. So grab your apron, gather your ingredients, and prepare to bake a dessert that will truly call your name.
